The below post contains affiliate links.
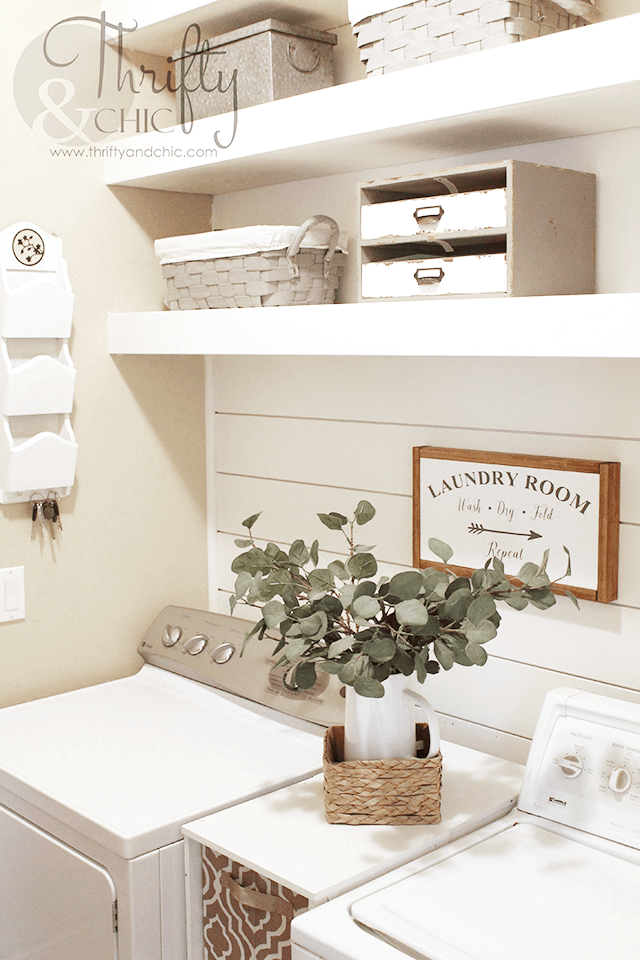
Last week I shared with you my laundry room makeover. If you want to see the before of it, and the censored before, go check it out :) Now it's got a cute little modern farmhouse vibe going instead of a hot mess vibe.
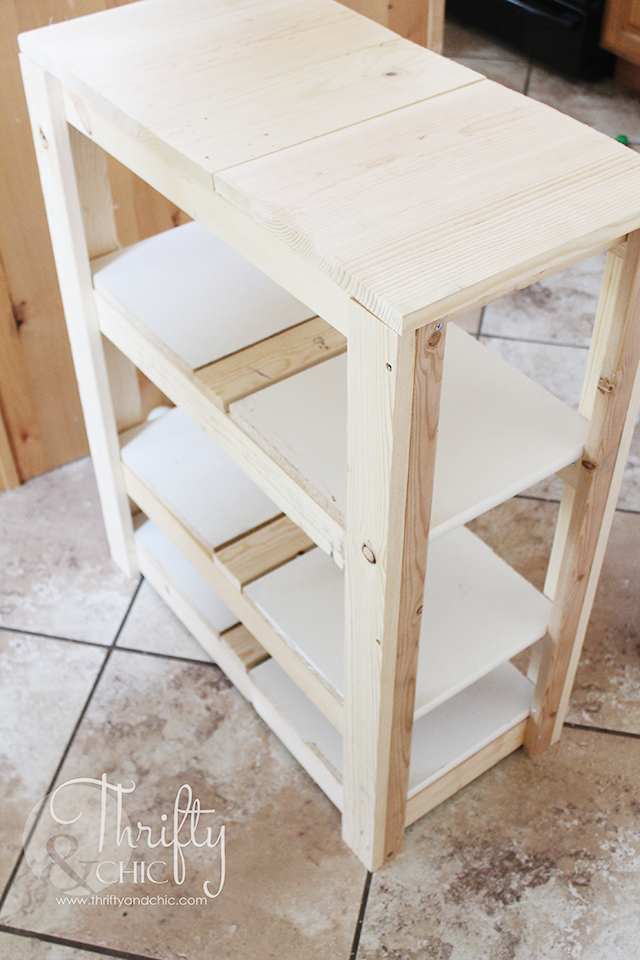
As promised, I'm going to share how I built the shelves in here. The shelves that were in here were super flimsy, and it's beyond me how they lasted as long as they did without caving in. These ones are really sturdy and can hold all of my stuff without bowing :)
The measurements on this project are going to be a little different for everyone. It depends on the length of the walls and the width of your boards. My 1x12s measured 11" and one of them even went under 11" which is crazy. So, I'm going to do this without measurements since mine won't make sense, but I'll let you know what to measure.
Supplies:
2x3 boards (for width of wall, support pieces, increase depending on number of shelves)
1x12 board (at least length of wall)
1/4" plywood for bottom of shelf
1x4" boards if staining or 1x4" mdf molding if painting
First things first, mark all your studs on the wall. You'll want your support bracket to go right into the studs. Take down the measurements so you can mark them on your wood.
Measure the length of your wall, and then cut a 2x3 that length (may need to do a smidge smaller in order to get it into place without scratching up your wall).
Next, measure your 1x12 board's width. Mine was 11". Subtract the width of your 2x3 (approx. 1.75") from the width of your 1x12 and cut your smaller supports that size. I used four on mine for a 70" long wall. If your wall is smaller, then you may only need 3 supports, or if it's longer you'll want more.
On your long 2x3 (the one the length of your wall), mark where all the studs would be and half way pre-drill at least 2 of these if you are hanging these by yourself. If you have a partner to help hold these up, then you can probably skip this step. I think predrilling holes just make things a lot easier :)
I used my Kreg Jig for this next part. On all your smaller supports, make two pocket holes on one side. Secure two of these supports to the two ends (one on each end). Make sure they are flush to the end since you will also screw these ends to the adjacent wall. Next, attach your other support pieces equidistant from each other with the pocket hole screws, making sure not to place them where the studs will be. I used 1 1/2" screws for this. If you don't have a Kreg Jig, just drill these in through the back side, making sure your screws sit inside the wood or are flush.

Now place your support bracket on your wall, making sure it was level. I did shiplap underneath my shelves (tutorial below). So, if you have something similar or tile under yours, use a scrap piece of the 1/4" plywood and place in between the support and top of your backsplash to ensure you have room to place the bottom piece of this shelf properly. Or just do the backsplash after you do the shelves. May make things easier :)
Using your pilot holes and/or marks, screw your support into the studs using 2 3/4" screws. Also, screw the supports into the side walls, making sure this part is level also. Try to get into a stud on here also.
Next, cut your 1/4" plywood into the size of your 1x12" piece. So, mine was 70" long by 11" wide. I then slid this underneath the supports very carefully and secured it with 2" nails (using my nail gun) into the support. You may want to cut this about a 1/4" shorter to give you more wiggle room when you trying to maneuver the board into place. Or just be super careful as to not scratch up your wall. (ps. I know my Home Depot doesn't cut anything under 12" anymore, so if you need your plywood to be cut, I recommend using the
Dremel Ultra Saw. It's a smaller hand saw that get things done without the shear force of the other options. Of course, that doesn't mean you can throw caution to the wind... be safe :) Always follow all safety protocols when using power tools. )
Next, cut your 1x12 to the length you need for your wall. Once again, mine was 70". Place on top of the support and nail in with 2" nails.
I like to think of the above part as a secret hiding place, although I never hide anything in mine. But, wouldn't it be a great idea? Just make sure your 1x4 cover piece is movable :)
Now, cut a 1x4 the length of your wall (once again, 70" for me) and secure into place with the nail gun and 1 1/2" nails. If you are going to paint this piece and not stain the wood, you may want to opt for some 1x4" mdf molding for a smoother finish. I ended up changing mine afterwards to the molding to get a smoother look.
After you are done with your first shelf, start building the next ones the same way.
I ended up doing different heights for each shelf for my needs. You can decide where you want each shelf to go for your own needs. Sometimes it's easier to find the baskets you want to use, and then using those measurements, place the shelf a little bit above that height rather than trying to find things that fit your shelves.
Next, paint or stain them! I ended up painting the back of the wall also to brighten this small little space up. I was thinking about carrying the shiplap all the way up, but decided against it since you can barely see the back anyway once there are baskets on the shelves.
In another post I'll go through my laundry room organization. I'm actually in the middle of creating a new storage table for in between the washer and dryer which will give even more ideas. And I'm thinking about adding a bar on the bottom shelf to hang wet clothes.
Even though I have essentially the same amount of storage as in my before pictures, I feel like it's utilized better and I don't have to worry about how much weight I put on these. My hopes is that it will always stay looking like this and be this organized, but I'm not dumb and I know myself :) lol. But, I can always dream and try, right? Heck! It's been 2 weeks and it's still looking pretty good so far!
As for the shiplap? I was going to do a whole tutorial on that, but it's actually relatively simple. Home Depot sells these mdf pieces of tongue and groove shiplap for about $4/$5 for an 8 foot board. I started these from my water hookups to make things easier. My water hookup surround came right out and I was able to place it on top of the raised mdf boards (not pictured).
I then worked around the outlet with the boards and the around the water supply.
Once the boards were in place, I actually just youtubed how to extend existing outlets over tile, and got a great tutorial on how to do this using spacers. I also went to Home Depot and asked a worker there on what to do and he said the same thing. So, I knew this was a good direction. Just make sure you do all your safety checks before you start working with things electrical...or hire an electrician to be safe.
Once the outlet is level with your shiplap, you can put on the cover (not pictured).
Then to finish things up, I used quarter round molding and nailed it into place.
I filled all the cracks and holes and then painted everything. The paint I used for both the shelves and shiplap is Swiss Coffee by Behr in a satin finish.
It's actually so fun doing the laundry in here now. Before, it was a nightmare, but since it's so different...even the arrangement of things, it makes it more enjoyable. Plus, it's pretty, so that helps!
The cost of the shelves can be relative. It made sense for me to buy the 1/4" plywood since I was making 3 shelves. If you follow this tutorial and only make 1 shelf, you will end up with a lot of plywood left over and it might make sense to use my other
floating shelf tutorial found here.
Disclosure of Material Connection: Some of the links in the post above are “affiliate links.” This means if you click on the link and purchase the item, I will receive an affiliate commission. Regardless, I only recommend products or services I use personally and believe will add value to my readers. I am disclosing this in accordance with the Federal Trade Commission’s 16 CFR, Part 255: “Guides Concerning the Use of Endorsements and Testimonials in Advertising.”


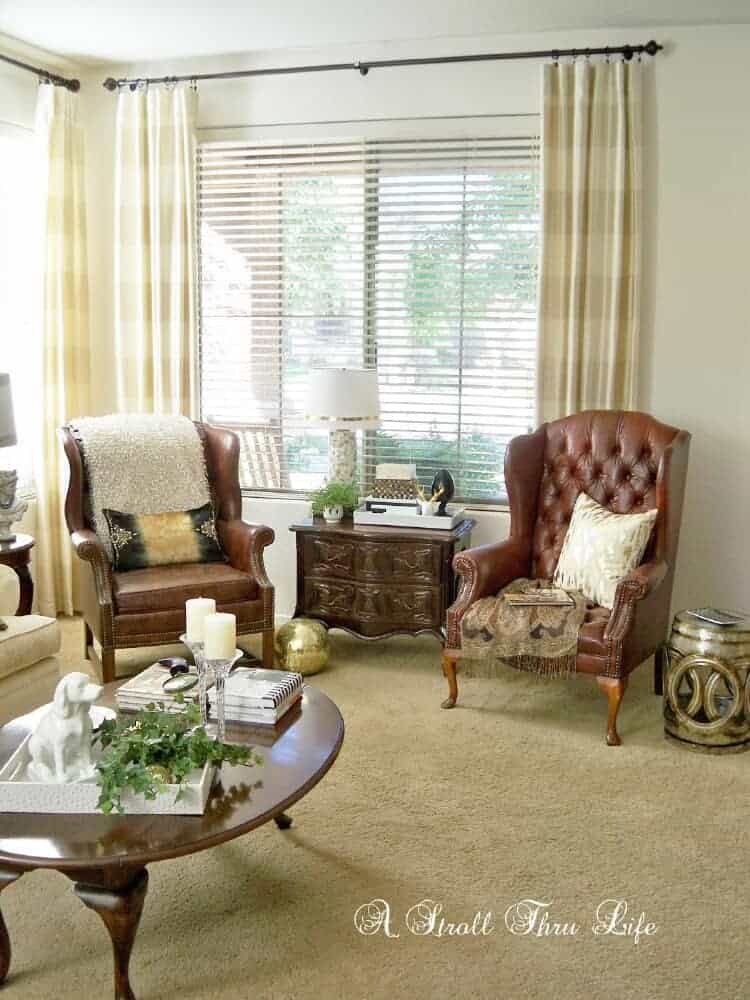
 Leigh revealed her
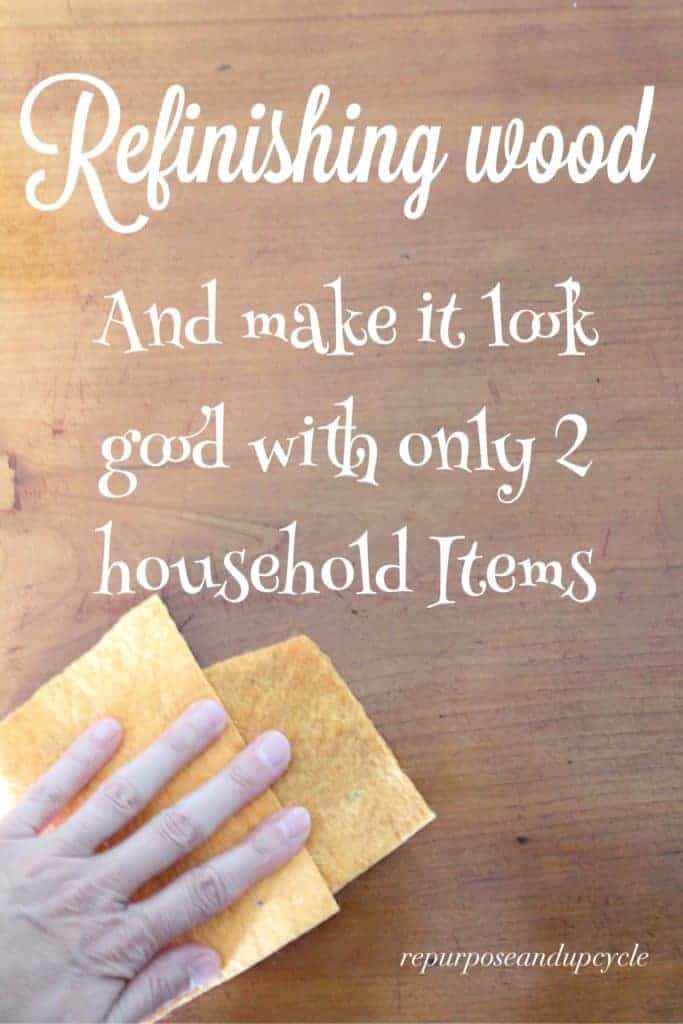
 Jen shared her tutorial on how to