Pin It

I have said this more times than once, but it's something I live by completely. If you have no desire to clean a room...or you literally haven't cleaned it in months...then it's time for a makeover. It's time to make it fresh again, and something that you want to clean or want to keep clean. Rooms in my house go through cycles with this, and my laundry room was up this round. I was going to show you this before:
Small farmhouse laundry room makeover and organization ideas. DIY laundry room ideas on a budget
But...well, let's get real. That is pretty bad, but not as bad as it was before I even touched it :/
Small farmhouse laundry room makeover and organization ideas. DIY laundry room ideas on a budget
I have been wanting to do cabinets in here for awhile, but finally decided to do some thicker, sturdier shelves. Plus, I love the idea of open shelving...it's just that you gotta keep the clutter under control, unlike I did in my before pictures :)

The shelves I used before, I didn't realize it until I took them down but apparently I only had two screws in each bracket and only one bracket in the studs. I'm surprised those things lasted the years that they did. I had some serious weight on those. Like think of paint cans, tools, screws, nails, etc. etc. etc. Shhh...don't tell my husband though :) He would give me crap. I don't know why I did it that way, but at least I did it right this time.

Here's the after:
Small farmhouse laundry room makeover and organization ideas. DIY laundry room ideas on a budget
 I wanted to keep the three shelves for the storage. We don't have much storage space in this house, so I wanted to maximize it. Baskets are my go to thing in here. I decided to trade up for some different ones. Ones that are a little bit bigger and deeper. When cleaning out this space, which by the way took me like 2 weeks, I realized I needed a good spot for my smaller tools and random screws/nails. I found this awesome little two drawer thing at Home Goods and knew it would be perfect for them! And yes, my laundry room is more of a DIY storage room than anything :)
Small farmhouse laundry room makeover and organization ideas. DIY laundry room ideas on a budget
 I've been thinking about this design for awhile now and for sure wanted to do some sort of 'back splash' behind the appliances. I envisioned subway tiles. But, I didn't want to get into a big tiling project. I looked for stick and peel ones, which I found, but they were a ridiculous price. I then saw these sweet pieces of mdf shiplap at Home Depot and thought they would be perfect!

I wanted a sign to go in here, and found this cute one from Here's Your Sign. But, let's be honest. The first thing gets done twice as much as the second because I am horrible at switching it out in time and then it just stinks. The third thing gets done once every 3 weeks or 10th load. And then repeat...well. :) That doesn't probably happen as often as it should. But at least the sign is cute!
Small farmhouse laundry room makeover and organization ideas. DIY laundry room ideas on a budget
 This space is super small. It's just a walk through from our garage into the main living space. So, getting decent pictures is half near impossible, but I wanted to show you the full shelves. All of those baskets and buckets hold DIY stuff or lights. The only laundry related holder is the bottom right which holds my oxy clean an dryer sheets. The sad part? I still have like 5 more boxes of stuff I can still put in here if I wanted to make it cluttered again. I think I'll just have to find a place for those in the garage ;)
Small farmhouse laundry room makeover and organization ideas. DIY laundry room ideas on a budget
 I also ended up moving the washer over to the right corner and placed some cubbies in between the washer and dryer. I love the height of this and the extra storage it gives. These are actually two cubbies pushed together to get this length which is plenty of room for detergents and any other extra storage things I need. I'm actually going to build a perfect size little table for this space which I'll share with you soon.
Small farmhouse laundry room makeover and organization ideas. DIY laundry room ideas on a budget
 My favorite part about this new laundry room is this view:
Small farmhouse laundry room makeover and organization ideas. DIY laundry room ideas on a budget
It now blends in with the rest of my house. And best yet, I can actually leave the door open! This is the door, the only door in my house that MUST remain shut when guests come over. You can see it from the living room, and it was obviously a complete hot mess :) But now, it's beautiful! I'm like...Hey! Come look at my laundry room! I'm not ashamed anymore lol

And I'm so glad I went with all white with the shelves and shiplap. I was contemplating staining the shelves, but decided against it and painted it. I hate painting by the way. So, this was like a really difficult decision. Staining is so much easier! But, I'm glad I did it. The laundry room is so dark and small, it needed a little bit of white to brighten it up.

As for the other side behind the doors? It hasn't changed much. I'll probably add some shiplap below the hooks in here to tie the two sides together. But, it offers a great solution for getting things up off the floor and into easily laundered piles.
Small farmhouse laundry room makeover and organization ideas. DIY laundry room ideas on a budget
I'll share the tutorial on the shelves soon! They are so easy and inexpensive!

You can see my laundry room throughout the years below. Click on the picture to check out the full post :)

First makeover:
Small farmhouse laundry room makeover and organization ideas. DIY laundry room ideas on a budget

Second makeover aka what it was supposed to still look like before mass clutter and laziness came flyin' in:
Small farmhouse laundry room makeover and organization ideas. DIY laundry room ideas on a budget

Pin It


 It's time to show us how you "I DIYed That" again- not just for bloggers, but for non-bloggers too! You can share your blog post here, showing off a DIY creation you made, or if you are a non-blogger, you can link up your DIY on Instagram using the hashtag #iDIYedthat. Every week, each blogger will pick our favorites and share them on our blogs, on Pinterest, as well as throughout our social media channels! We want to show you off!

Meet the I DIYed That Hostesses


 Alicia: Thrify and Chic, Instagram, Facebook, Pinterest 
Jen: Noting Grace, Instagram, Facebook, Pinterest 
Laura: Junque Cottage, Instagram, Facebook, Pinterest 
Leigh: Little by Little Farmhouse, Instagram, Facebook, Pinterest 
Lindsey: Repurpose and Upcycle, Instagram, Facebook, Pinterest

Let's start by sharing what we've been up to this week:

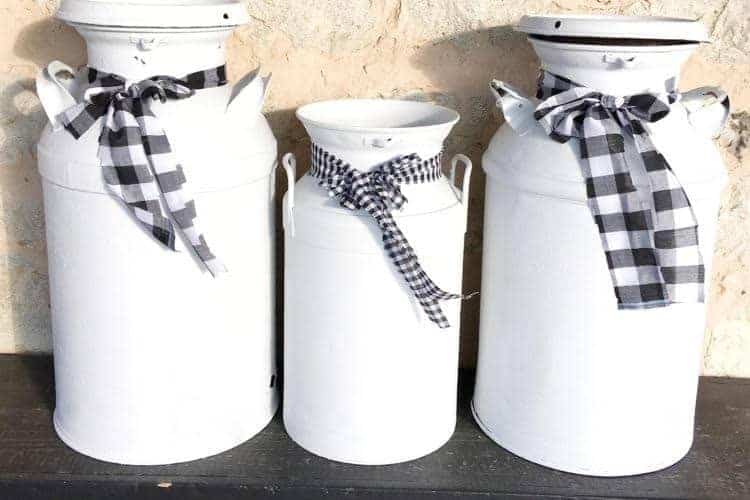
  Laura shares how to updates antique milk cans to give them a fresh new farmhouse look using paint! 
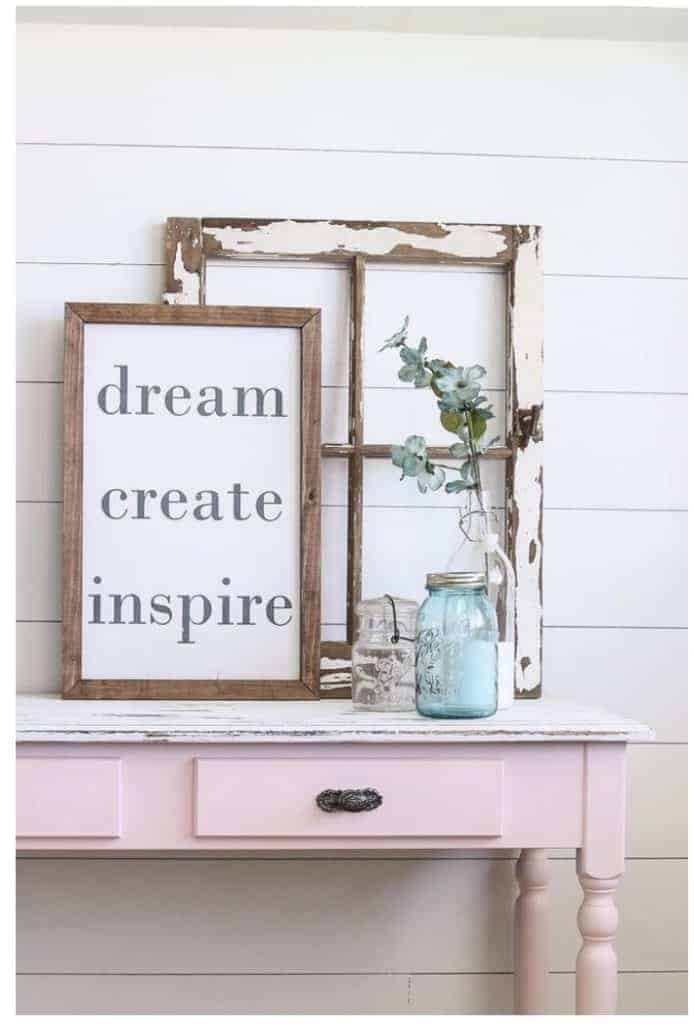
  Leigh shares a tip about how to make a simple diy bench a bit more farmhouse style.
 
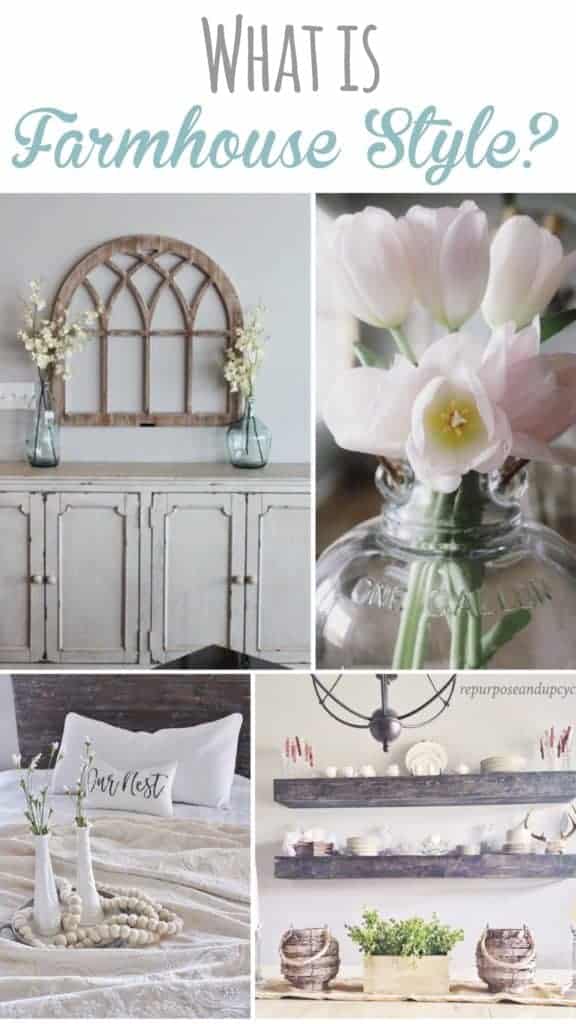
Lindsey shares a few ideas about "what is farmhouse style."

what is farmhouse style
  Alicia shares the best tools to get your DIY toolbox started!
 

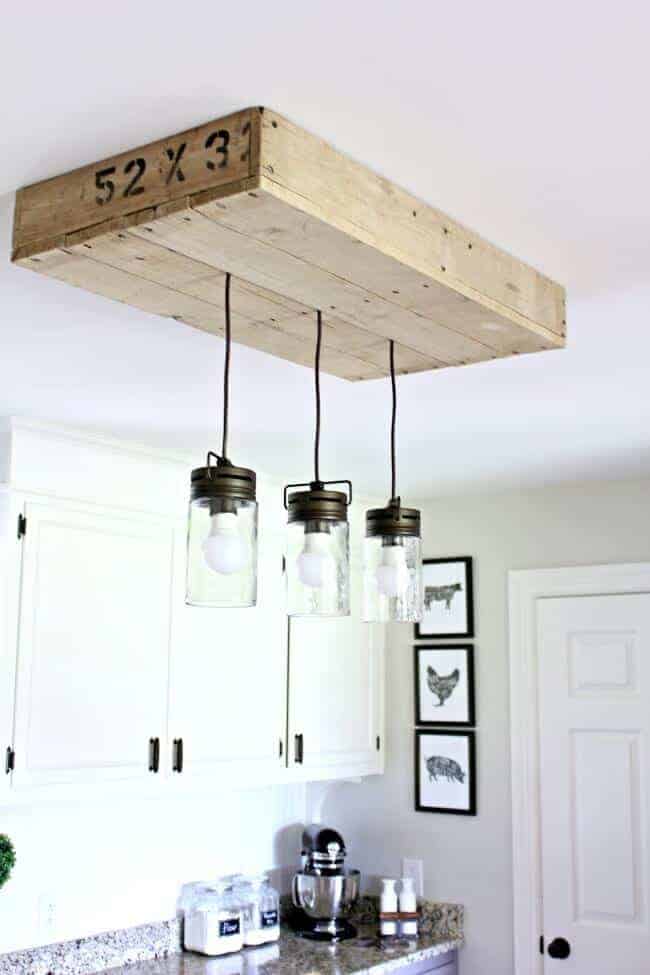
 Jen built a Pallet Light Box for her kitchen island and shows you the full tutorial in this post.
     

And now for the features for this week:

The first feature for I DIYed That from Instagram goes to @Jogalbraithathome. Isn't that DIYed flea market dresser amazing!

The next feature goes to the blog A Fresh Squeezed Life and Randi shares how she transformed this furniture piece from trash to treasure. Check out her blog post because you'll love to see her furniture flips!
   

Now for the fun stuff - I DIYed That - Week 23!

So, how do you link up? It's super easy! Share UP TO THREE (3) of your original posts from your blog with something you DIYed (no shops or giveaways please) Follow your hosts of your favorite form of social media and we would be honored if you linked back to us in your post. Please link up your content only. It's not necessary to visit other blogs, but if you see something that inspires you, go to the original source and let them know. Let's share the love! By linking up, you are confirming that these are your photos and are giving the hosts permission to share your images and links on their blogs and social media. Also, be sure to check out our features on our Pinterest Board.

Pin It
The below post contains affiliate links. 

Best tools for DIY. This is a great guide on what to buy for beginner DIYers! Tools for woodworking and diy projects.

I have been building a lot lately, more than I have in long time! It feels so good :) But, it also made me realize how many tools I really do use and how much I love them! I get asked a lot about what tools are great tools to start out with. My very first tool, besides a drill, was a miter saw. And my arsenal has just grown from there. I decided that it would be a great time to share which tools I love with you and which ones I could not live without!

Ryobi Compact Drill/Driver Kit


 I love this drill! If possible, get two! One for drilling holes, the other ready to go for screwing in screws! Plus, this kit gives you two batteries and a charger, which is a must. It's the worst being in the middle of a project and having the battery die on you, and then having to wait. With this one, I just always have one of the batteries charging, so when that happens, I just easily switch it out.

Black & Decker Drill Bit Set, 18-Piece


I have a similar set to this, and it has lasted for years! I have had to get a few bits here and there, but these, for the most part, take care of what I need.

Ryobi Compound Miter Saw


This is definitely one tool I could never live without and is quite possibly as important as owning a drill. I use this for every single project!

PORTER-CABLE  Combo Kit


I couldn't live without my nail gun either! I use this thing on most of my projects, big and little. I couldn't image hammering nails the old fashioned way! It's a must, especially for adding molding, shiplap/planks, board and batten...everything! Of course, with a nail gun, you'll need an air compressor. This is the exact combo I have. Truthfully, I have used the staple gun like once...and I'm not even sure if I used it for it's intention...I think I was just out of brad nails or something :) But, this combo is a great deal!

Dremel Ultra-Saw Tool Kit with 5 Accessories and 1 Attachment


This Dremel Ultra Saw is my new love. Serious. I hate using huge hand saws...they are just so dang heavy and scary. I own a table saw...and well, I have used it twice in the 7 years I have owned it. Scares me too. I realized that I just needed something to do my longer cuts that wasn't so heavy duty...and this is it! I can hold it with one hand, yet it cuts most plywood and wood under an inch thick, which is usually what I would need anyways. This does a lot more things than just that :) You can do masonry, metal...just read about it. It's great!

Dremel Ultimate 3-Tool Combo Kit with 15 Accessories and Storage Bag


I have had this kit for at least 6 years now. It is a great kit, not just for building projects, but also for every day household things. I use it more on random things than anything else. I use it the most for cutting metal...like on my sliding barn door hardware on my entertainment center.

Dremel All-Purpose Rotary Accessory Kit, 160-Piece

I also bought this attachment kit for the Dremel tools...You own a Dremel, you'll need this :)


BLACK+DECKER  Jig Saw


After my drill and miter saw, the jigsaw was the next tool purchase. It's great for free hand cuts, like making round things like these farmhouse serving trays, or adding curves to headboards...among many other things :)

Kreg Jig K4 Pocket Hole System


My husband bought this for me about 3 years ago, and I don't know why, but it just sat in my basement all that time until this year! I know, I'm crazy! It's a great tool to secure wood together, tightly, securely, and hidden! Pocket holes are the best! But, be sure to use the pocket hole screws...not normal screws. It just doesn't work the same :)


Countersink Drill Bits
Also, another great thing that I love...and have like three off...is a counter sink drill bit. This is great for pre-drilling screws and hiding the heads. A must!


A few tools that I own, but don't really use or recommend as a starter:
A sliding miter saw


My husband bought me a sliding miter saw probably about 4 years ago...it's still in the box. I have thought about getting it out a few times for longer cuts, but just never did. I'm sure when I get it out, I will love it though!

Table saw


As I mentioned before, the table saw scares me :) I had a few pieces shoot back at me, and I would rather leave those types of cuts to the professionals at Home Depot or Lowes :)  haha. That's why the Ultra Saw I mentioned earlier is amazing!

Router with table


I used my router for smaller projects...far and few between. I wish I used it more, it's a great tool! It's just not something I have need of too much with my current projects.

Drill Press


Another one of those presents from my husband :) I think I used it once, and I can't even recall what for! I actually forgot I even owned it.

Disclaimer: As with all tools, follow all manufacturer instructions and wear safety equipment. Thrifty and Chic and it's owners are not liable for any injury or malfunction that can be caused by the user or the machine/tool. Buy at your own risk and do your due diligence before purchase.

Disclosure of Material Connection: Some of the links in the post above are “affiliate links.” This means if you click on the link and purchase the item, I will receive an affiliate commission. Regardless, I only recommend products or services I use personally and believe will add value to my readers. I am disclosing this in accordance with the Federal Trade Commission’s 16 CFR, Part 255: “Guides Concerning the Use of Endorsements and Testimonials in Advertising.”